One of the main perks students look forward to in college is moving out on their own, and starting new lives as adults. But once they’ve made the big jump, most realize that living on their own is expensive. And it’s not just the rent that racks up the bills, but also utilities.
Even when dorm fees cover utilities, high energy bills for the university can hike up dorm fees for everyone the following semester or year. In spite of this, student apartments and dorms are terrible at energy efficiency. That often means deciding between high energy bills, and sweating a river or shivering under a blanket.
Most student apartments use traditional radiators placed under windows, which leads to a great loss of heat or cold via the windows, even with double glazing. While triple glazing is becoming more and more common, it is still pricy to install and may feel like too much to take on. So why not try applying some window film?
Why you Should Give This a Try
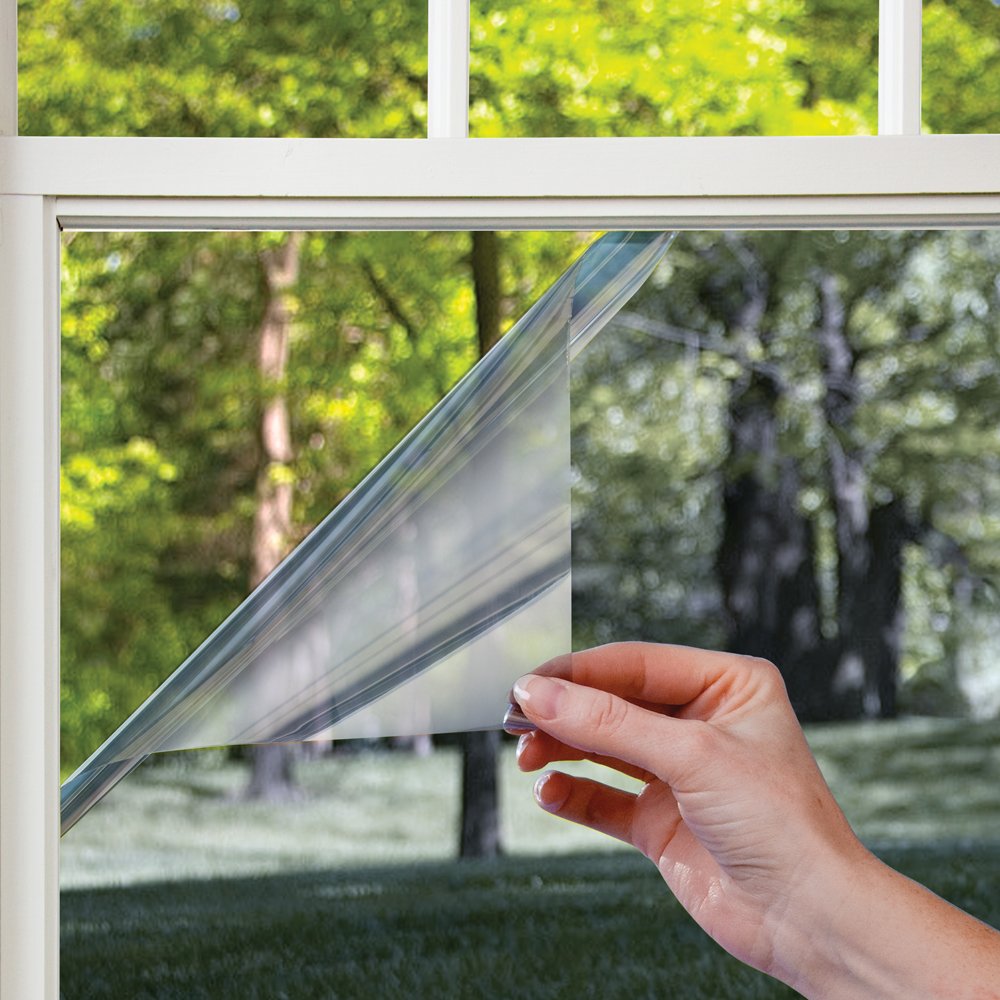
Window film, also known as window insulation, is a cheap and simple way to add an extra layer of protection to your windows against the cold and the heat. It works by trapping a layer of air between itself and the window, creating an extra layer of still air much like double glazing does.
It reduces heat transfer and can also help to safeguard against condensation on frosty mornings. So just where do you get it, how much is it, and how do you apply it?
Where to Find Window Film
Larger DIY and home improvement shops will stock this wonder stuff which only cost approximately £1 per sq. m. (or a bit more than $1 per 10 sq. ft). Even if this is your first time living away from home and you’re a complete newbie when it comes to DIY jobs, this is one project you (and a college mate) can tackle easily.
How to Apply Window Film
Here’s how.
Step 1
Before attaching the film to the window, you will need to make sure that the window is squeaky clean. Make sure any grease marks are removed and any other marks or stains too. Also make sure that the glass surface is completely dry.
The film is best applied on warmer, non-frosty days if possible, as in colder temperatures the adhesive tape will not be as effective. It can also be helpful if you have a willing helper by your side, especially if you have larger windows.
Step 2
Your film will have backing card/paper on it making it initially easy to handle. You should measure the size of the window that you will need to insulate, and then cut your film with a 5cm (or 2 inch) border spare all round to account for shrinkage.
Be careful of the handle area and edges in particular, since you’ll still need to be able to open the window! Alternatively, you can completely seal the window if you prefer – just cut the film according to size for this.
Step 3
When handling the film, be aware of how delicate it is. It can tear very easily before it is applied, so do take care. Using the window tape that comes with the film, measure this and attach it all round the window frame (again paying attention to the opening edges).
Next carefully peel off the card backing from the film and attach it parallel to the window tape. Continue to work down the window, peeling the backing away in segments until you have fully attached the film to your window tape aside from any overlap.
Be careful not to overstretch the film and rip it, even if you think it looks horribly wrinkly. Those wrinkles will be dealt with the at the next stage.
Step 4
Use a hairdryer, set it to a high heat, keep a distance of about 6 to 12 cm (2.5 to 7 inches) away from the window surface, and pass over the film, spending no more than a few seconds on each area. Keep this distance to minimize the chance of burning a hole in the plastic!
Don’t worry if the wrinkles don’t immediately disappear; as you heat and shrink more areas, they will. Be patient with this stage. The film will soon shrink and become smooth.
Step 5
Finally, trim the excess film around the tape. Use small scissors to carefully cut as close to the tape as you can to make a neat job.
At this point it should be hard to tell that the window has changed at all as the film will be as smooth as the glass, trapping that extra insulating layer of air between itself and the window pane.
Enjoy the savings with this easy DIY trick that can help cut down on your energy bills by preventing that precious heat or cold from escaping your home. Don’t forget to be patient and enlist a friend or two to help out.
Author Ava Sipple
 Ava studied English Literature and Language at the University of East Anglia and now works in Glasgow, Scotland. Having recently become a first-time home-owner, she’s on a mission to learn as many DIY tricks as she can to get on with her home improvement, while saving some pennies. You can find Ava on Twitter as @avasipplediy

Marvelous pic
LikeLiked by 1 person
Thanks!
LikeLiked by 1 person
My pleasure
LikeLiked by 2 people
Reblogged this on I.S. Enterprise Construction and commented:
Ava Sipple shows college students how to lower their energy bill by applying window film in their student apartment or dorm. Check out this neat DIY trick.
LikeLike
Pretty good info!
LikeLiked by 1 person